My latest crafty adventure is here!
I am into 3D printing over at Craftiprint!
At Craftiprint, I show you all the fun things you can make with a 3D printer. So what is 3D printing? Well, I wrote a little post about it here so you can learn about what it is and what it can do.
The awesome thing is that 3D printers are becoming more affordable every day. Soon we hope that everyone will have one in their home! That's why I am sharing all of these great craft ideas; you can see the cool things that can be made on a 3D printer and then get one for yourself!
So please come check out Craftiprint and get ready to get printing!
Tuesday, October 13, 2015
Sunday, October 11, 2015
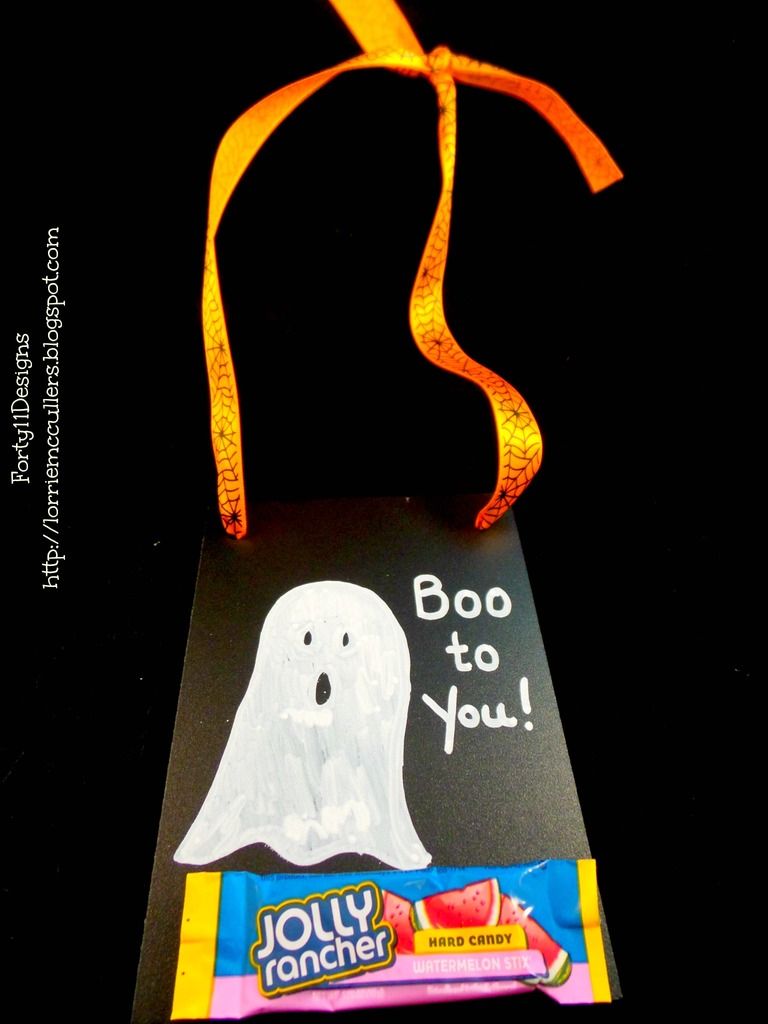
"Boo to You" Candy Holder Sign
Disclosure: This is a sponsored post. As a member of the Deflecto Design Team, I have been provided product in exchange for my creative ideas, views and opinions.
Let's face it: Halloween is all about the candy. This "Boo to You" sign lets you combine candy with a cute decoration that can be used even after the candy is gone!
Friday, October 9, 2015
"The Eyes Have It" Halloween Frame
"Jeepers creepers,
Where'd you get those peepers?"
You are going to think "somebody's watching me" when you make this easy Halloween frame!
Personalized Tote Bag featuring JOY Embroidered Letters
Fall and back-to-school time usually means people are getting ready for football games and tailgating. Not me! I start thinking about all those fun scrapbook events I go to in the fall!
If you are a scrapper like me, chances are you have gone to a crop and there are several people with the same bag that you have. I have a really nice black canvas bag that I got several years ago at a scrapbook store. It's great for crops or shopping, but it looks just like everyone else's bag. Not anymore with the embroidered letters from JOY!
I love these letters because you can just peel off the backing, stick them in place then iron them on to stay permanently. The varsity-style lettering makes your project look sporty and you can use them to spell out words, initials, or your favorite team's name.
And now I can say that I went to my favorite school - SCRAP U! I'll bet no one else has a bag like mine at the next crop!
Tuesday, September 15, 2015
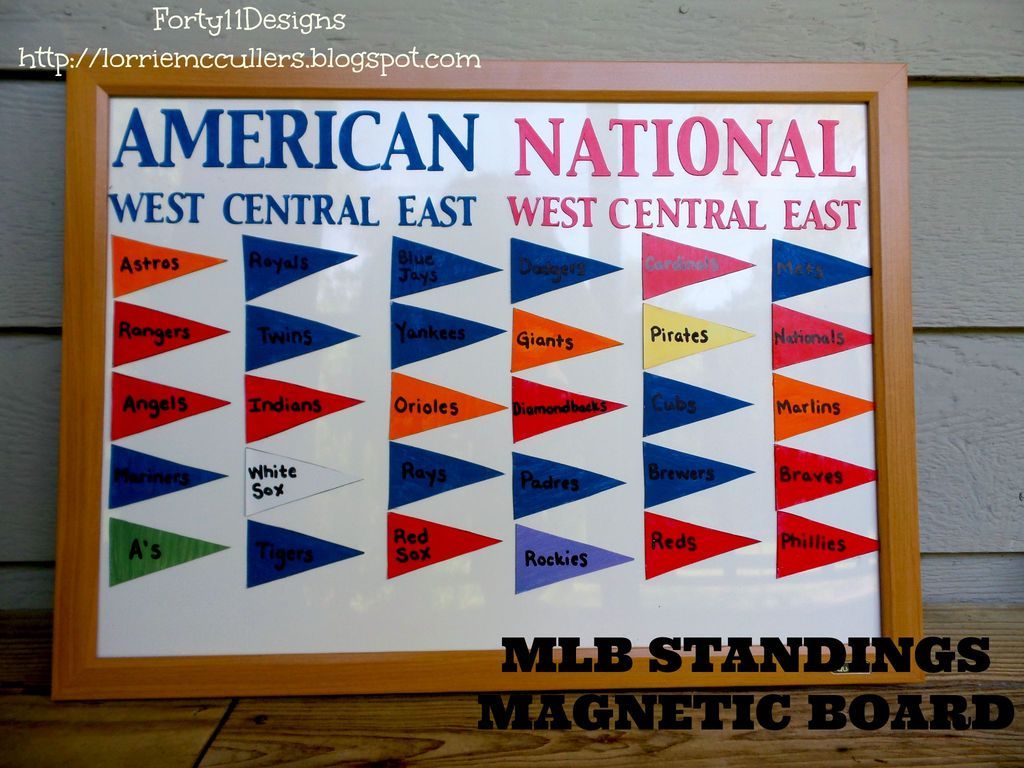
Magnetic Baseball Standings Board
One thing that people may not know about me is that I am a big baseball fan. I love my Atlanta Braves! Growing up in Georgia, we have seen the Braves go from worst to first... and unfortunately, this year, back to worst. However, no matter if the Braves are in the race for the pennant or not, I still love to follow the sport. And with my new Major League Baseball standings board featuring Deflecto magnetic craft sheets, I can keep track of all the teams in baseball!
Thursday, August 27, 2015
Crafting with Office Supplies Blog Hop
This month, I am participating in the Designer Crafts Connection Manufacturer Challenge sponsored by Deflecto. We are crafting with office supplies!
When I look around, I see all kinds of surfaces that need to be "jazzed up". Office supplies are no exception. Why have a boring nameplate like everyone else when you can bling it up and show off your personality?!
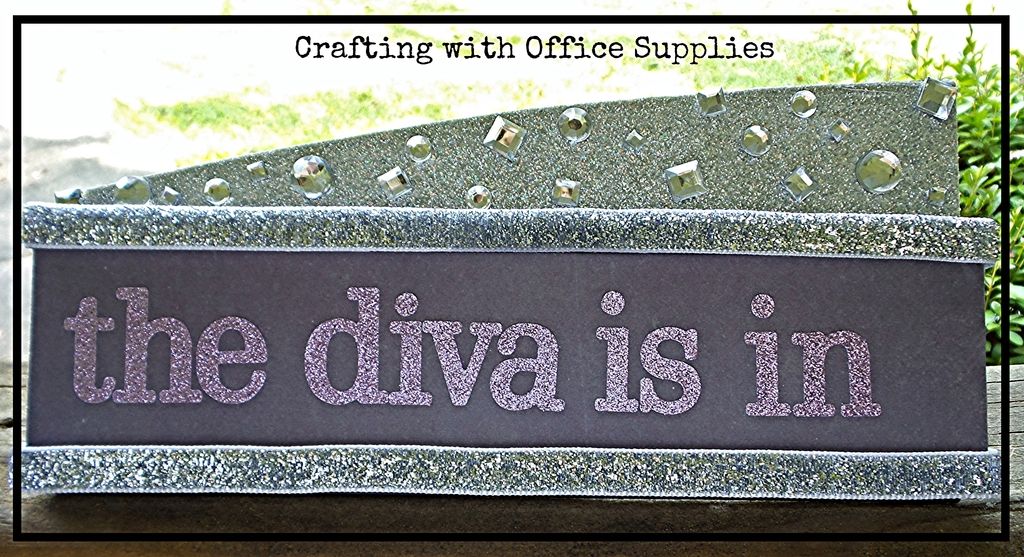
Tell everyone in your office that The Diva is In (or out) with a nameplate from Deflecto. The sparkly beauty above started life as a regular black nameplate, but with just a little work, became a diva-fied office statement!
To make your own, you need:
- Deflecto Interior Image Sign Holder Nameplate (available at Amazon and other retailers)
- glitter paper
- adhesive rhinestones
- ribbon
- Mod Podge (I used Glitter Mod Podge for extra shine)
- letter stickers
- cardstock or patterned paper
- glue dots
- scissors
- foam brush
How to:
- Trace the top part of the nameplate onto the back of the glitter paper and cut out. Using your foam brush, coat the back of the paper with Mod Podge and place the paper onto the nameplate. Coat the paper with Mod Podge, making sure that the edges are adhered well. Let dry.
- Once Mod Podge has dried, place assorted rhinestones on the glitter paper.
- Using glue dots, attach ribbon to top and bottom of the area where the nameplate goes, leaving one end unattached (so you can slide your nameplate in).
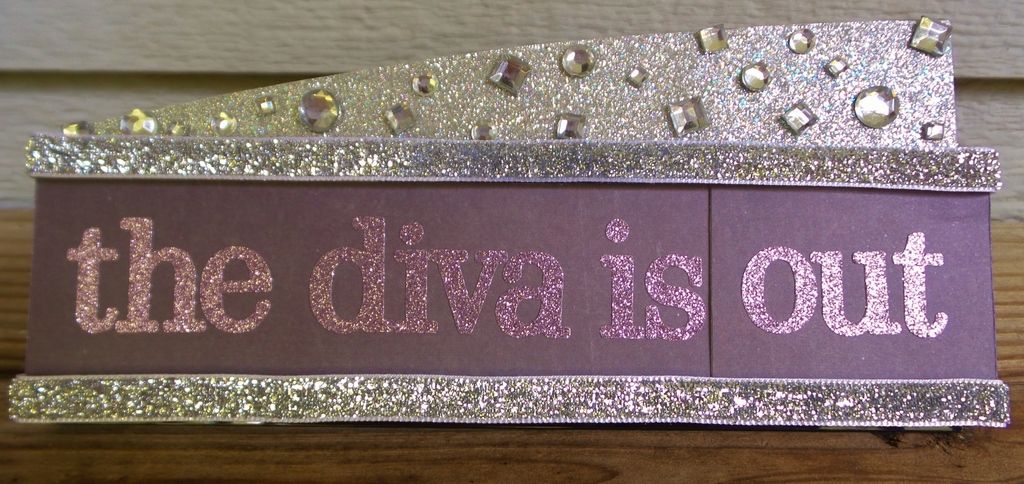
- Cut your cardstock or patterned paper to be 8.5" x 2". Then use letter stickers to spell out your name or message. I made an extra piece so that my sign could also read, "The Diva is Out".
Want your own Deflecto supplies to craft with? You can win them in the Deflecto/DCC giveaway!
We are giving away a Deflecto frame and a Stackable Cube Organizer, perfect for your craft stuff like pens, inks, buttons, beads, and more. Just go to the Designer Crafts Connection homepage and enter to winvia Rafflecopter.
If you want to see what other designers have done with their office supplies, use my DCC link button on the right side of this page to hop to all of the other fun projects!
Disclosure: This is a sponsored post. As a member of the Deflecto Design Team I have been provided product in exchange for my creative ideas, views and opinions.
Thursday, August 13, 2015
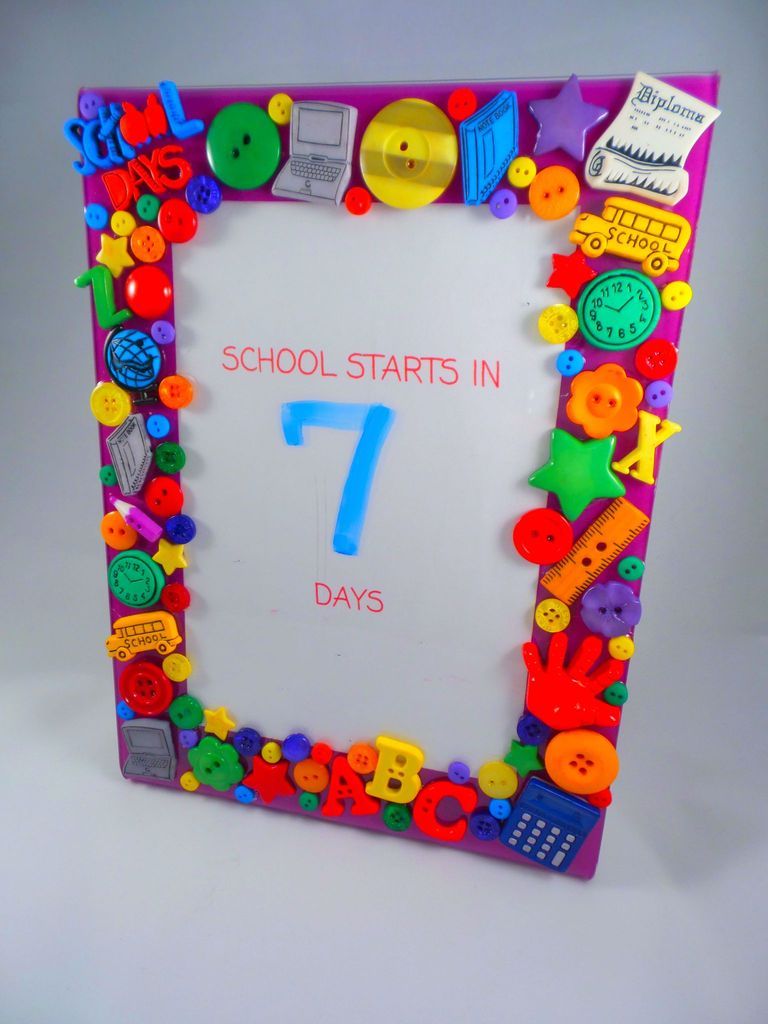
Back to School Frame with Deflecto and Buttons Galore
DISCLOSURE: I received free product from Buttons Galore and Deflecto Crafts to use for this project. All designs are my own.
For the full instructions and supply list for this awesome back to school frame featuring Deflecto frames, head over to the Buttons Galore blog!
Disclosure: This is a sponsored post. As a member of the Deflecto Design Team I have been provided product in exchange for my creative ideas, views and opinions.
Thursday, July 16, 2015
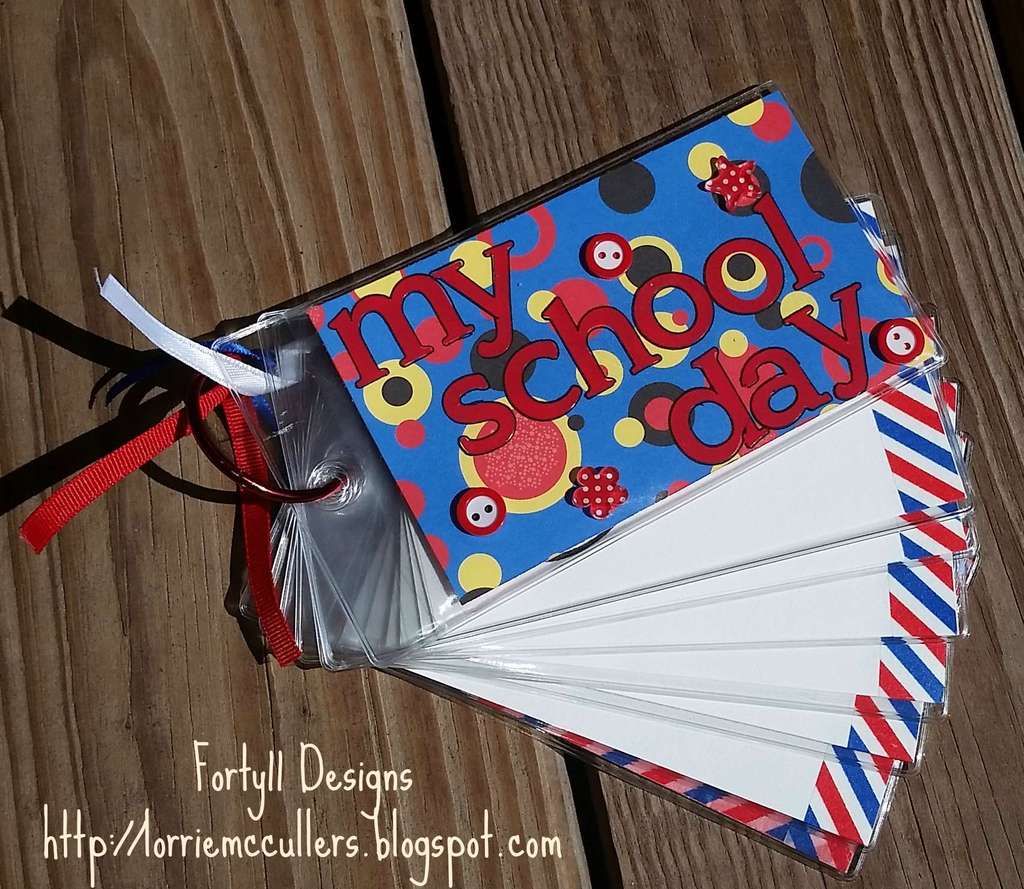
"My School Day" time book
It may be only July, but here in Georgia it is almost back to school time -- kids go back in just a couple of weeks! And while a new school year is always an exciting time, it can also be a little stressful, especially for kids who are just starting school or kids who need a routine. That's where the "My School Day" book comes in.
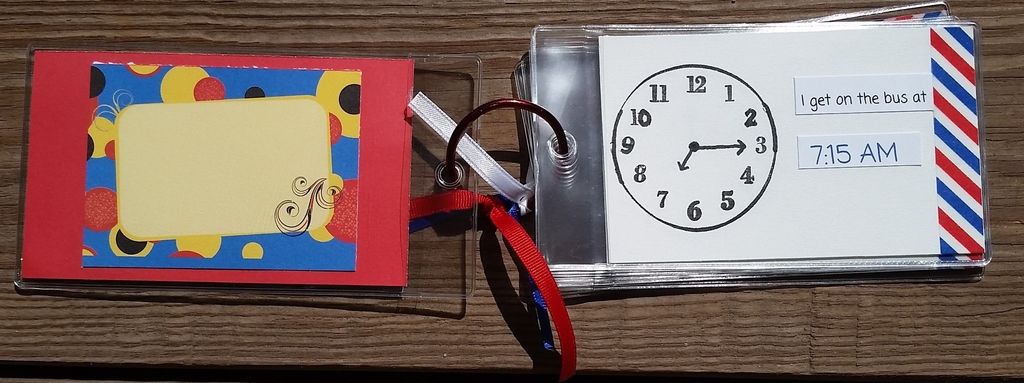
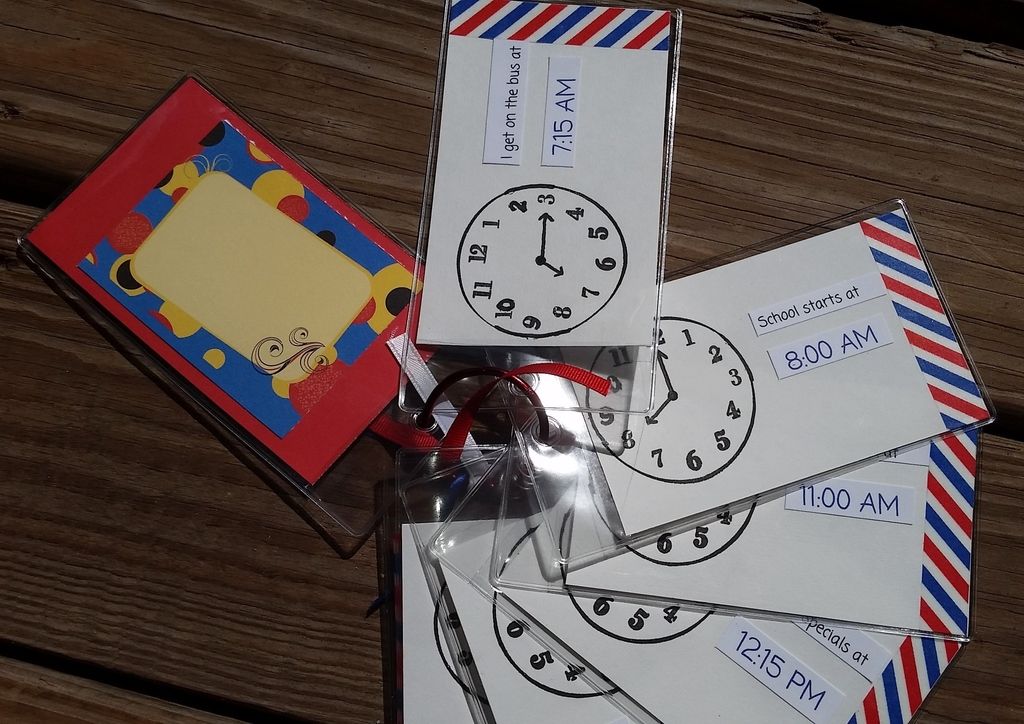
When I was a teacher, I got a lot of questions about what time we would do certain things. First graders always wanted to know, "When do we go to recess? When do we go to art/music/etc?" With this little book, made from Deflecto's 3"x5" flexible pouches, you can introduce kids to their daily school schedule before the school year starts AND practice telling time!
Directions:
1. Stamp a clock face onto 3x5 pieces of white cardstock and put the appropriate time for the child's activities (you can get the daily schedule from the teacher before school starts). I made cards for getting on the bus, school start time. lunch time, "specials" time (art/music/PE), recess, and end of day, but you may need different ones for your kids.
2. Print the words and the times for each activity on the computer and attach them to each card. Of course, you can always hand-write these! With this, kids learning to tell time can match the clock face with the "digital" time.
3. Edge each card with washi tape.
4. Make a front and back cover. This is a great place to use scraps! Be sure to include a place on the inside of the front cover for the child's name, address, and phone number. If the child rides the bus, put what bus number they ride home on the inside of the back cover.
5. Use a book binding ring to hold the pouches together and decorate with ribbon!
With this book, kids get an introduction to their school day before the big day arrives. Since it's made with these cool pouches, it's small enough that kids can carry it in their book bags.
Here's to a less-stressful first day of school!
Materials used:
Deflecto flexible pouches
white cardstock
patterned paper and journaling card from Keller's Creations
letter stickers from The Paper Studio
embellishments from Queen and Co.
adhesives from ThermOWeb
book ring
ribbon
clock face stamp
pen from Zig
Disclosure: This is a sponsored post. As a member of the Deflecto Design Team I have been provided product in exchange for my creative ideas, views and opinions.
Subscribe to:
Posts (Atom)